
When you start heat pressing, understanding how a heat press works is key—using the right temperature, pressure, and timing guarantees your designs stay vibrant and durable. Choose the appropriate size and materials for your project, and prep your fabric and design properly. Maintain your equipment and avoid rushing to prevent uneven or faded results. If you keep exploring these basics, you’ll gain the skills to create professional-looking transfers and handle more advanced projects with confidence.
Key Takeaways
- Proper temperature, pressure, and timing are crucial for durable and vibrant heat transfer results.
- Use compatible materials and follow manufacturer instructions to prevent adhesion issues and damage.
- Regularly maintain and clean your heat press to ensure even heat distribution and consistent quality.
- Precise placement tools and guides help achieve professional-looking, multi-layer or complex designs.
- Rushing the process or skipping safety precautions can lead to poor results and potential accidents.
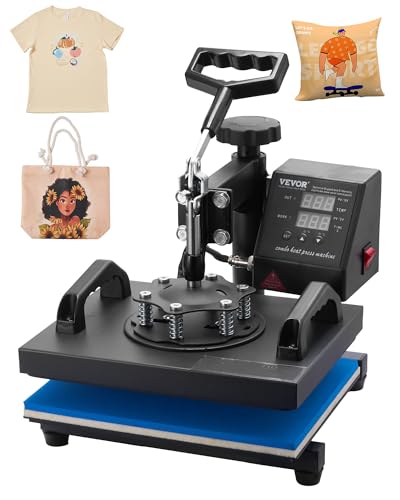
VEVOR Heat Press, 12x10in Heat Press Machine, Clamshell Sublimation Transfer Printer Fast Heat-up, Digital Precise Temperature Control, Vinyl Heat Press for T-Shirts Bags Garments Mats Puzzles, 650W
Pinnacle of Versatility: This power heat press from VEVOR provides a large surface to transfer onto flat items,…
As an affiliate, we earn on qualifying purchases.
As an affiliate, we earn on qualifying purchases.
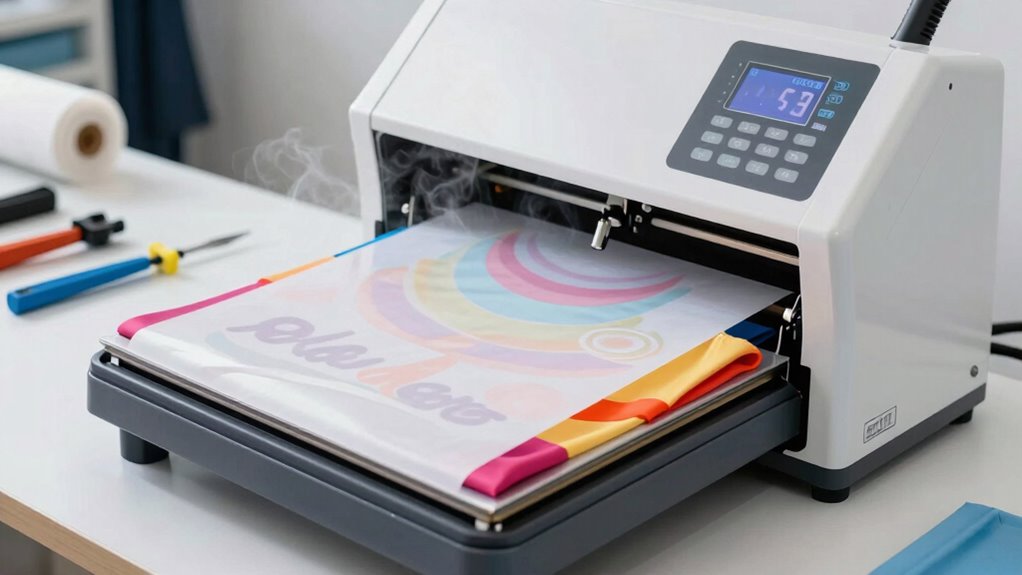
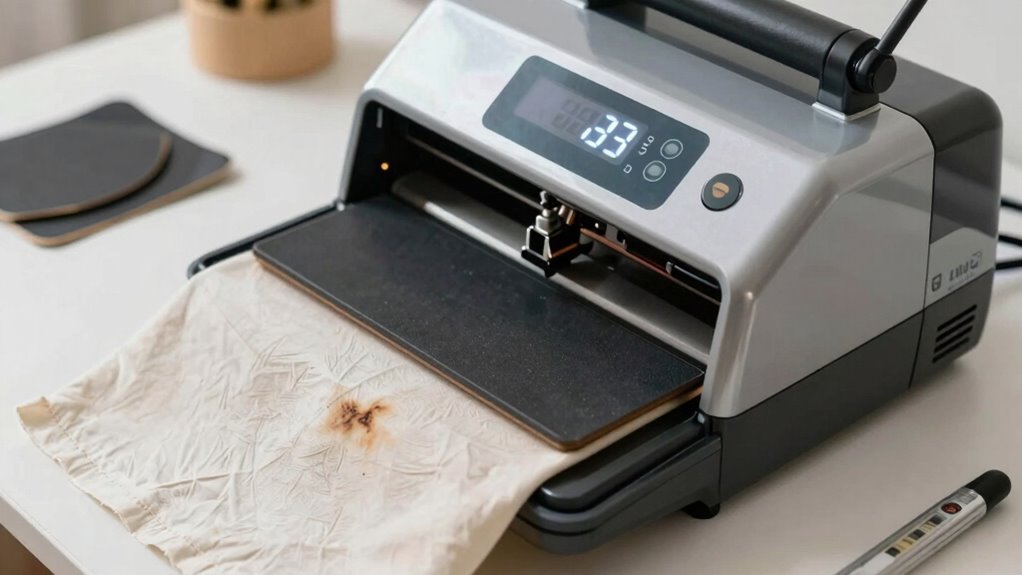
How Does a Heat Press Work? A Beginner’s Guide
Ever wondered how a heat press transfers designs onto fabrics? It’s all about heat transfer, where heat and pressure combine to embed your design into the material. The process begins when you place your chosen design on the fabric, then close the heat press. Temperature control is vital here; you set the ideal heat level for your specific transfer. The machine applies consistent pressure and heat for a precise amount of time, causing the design’s ink or vinyl to bond with the fabric’s fibers. The heat causes the adhesive or ink to melt and adhere, resulting in a durable, professional-looking transfer. Proper temperature control guarantees your design doesn’t burn or peel, giving you a clean, vibrant finish every time. Additionally, understanding AI integration in manufacturing can help optimize heat press settings for different materials, ensuring consistent quality in every transfer. Recognizing humidity control is also essential, as moisture levels can affect the adhesion process and final appearance of your transfer. Being aware of material compatibility can further improve your results by ensuring the right settings are used for each fabric type.
VEVOR Heat Press, 12x10in Heat Press Machine, Clamshell Sublimation Transfer Printer Fast Heat-up, Digital Precise Temperature Control, Vinyl Heat Press for T-Shirts Bags Garments Mats Puzzles, 650W
Pinnacle of Versatility: This power heat press from VEVOR provides a large surface to transfer onto flat items,…
As an affiliate, we earn on qualifying purchases.
As an affiliate, we earn on qualifying purchases.
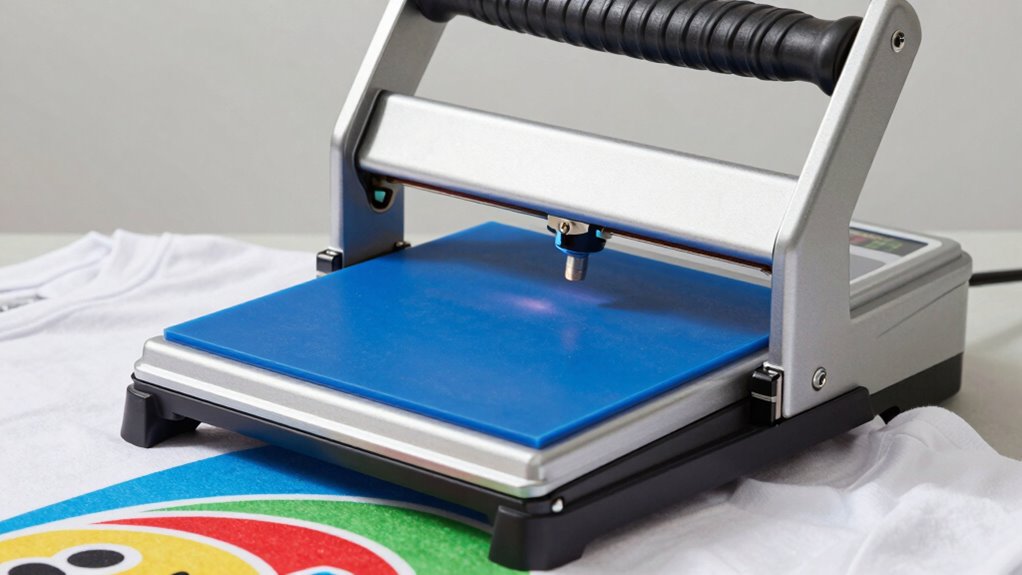
Choosing the Right Heat Press for Beginners

When you’re just starting out with heat pressing, choosing the right heat press can seem overwhelming, but focusing on a few key factors makes it easier. First, consider the size; a smaller press is perfect for beginners working on small projects, while larger ones suit more extensive branding techniques. Second, look at the pressure adjustment and temperature control to ensure safety and consistent results. Finally, prioritize heat press safety features like automatic shut-off. For beginners, a clamshell design offers simplicity and stability. Using early detection techniques and understanding these features can help you avoid common mistakes and achieve better results. Additionally, understanding the heat press safety features can help prevent accidents and protect your workspace. Being aware of size options ensures you select a machine that fits your specific project needs, allowing for smoother workflow and better outcomes. Choosing the right press helps you grow confidently and safely.

Evteck Paper Cutter 12 Inch Paper Trimmer Slider Crafting Scrapbooking Supplies for A4 Vinyl Photo Cardstock with Security Blade and Foldable Ruler
Professional School Paper Cutter: with sharp blade, easily to cut straight along the transparent wire. Very smooth and…
As an affiliate, we earn on qualifying purchases.
As an affiliate, we earn on qualifying purchases.
What Materials Are Best for Heat Pressing?
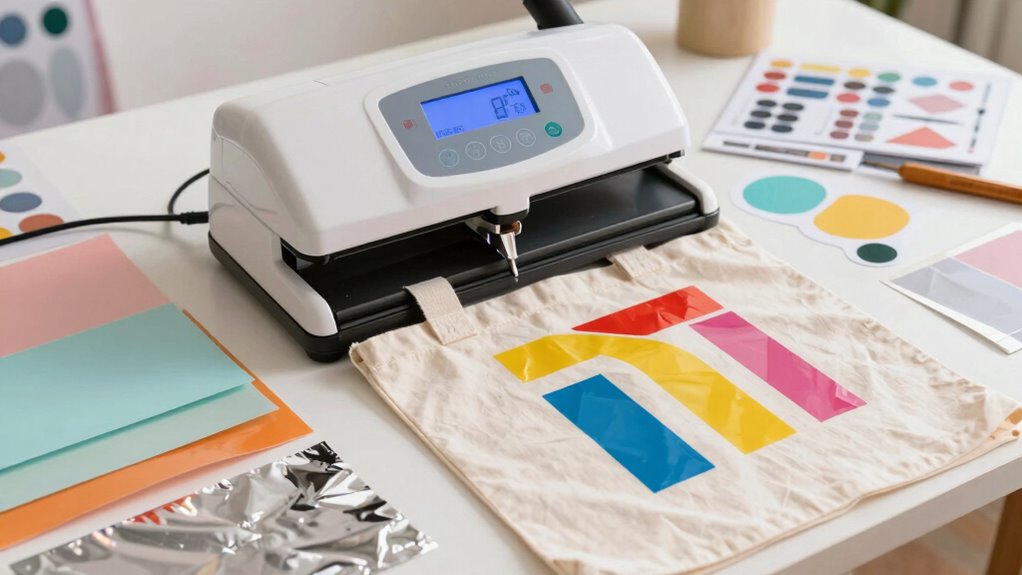
When selecting materials for heat pressing, you’ll want to focus on fabrics that can withstand high temperatures without damage, like cotton or polyester. Choosing the right transfer materials, such as heat transfer vinyl or sublimation paper, is also key to achieving vibrant, long-lasting results. Understanding which fabrics and transfer options work best guarantees your projects turn out professional and durable. Additionally, being aware of cabling solutions and proper equipment setup can prevent issues like uneven heat distribution or damage to your press, ensuring consistent quality. Proper material compatibility is essential to avoid mishaps and ensure your designs adhere properly. Incorporating virtue and intention can also guide you to make mindful choices that align with the quality and longevity of your designs. Ensuring your workspace is organized and safe for heat tools can help prevent accidents and maintain a secure environment while working with heat press equipment.
Ideal Fabric Types
Choosing the right fabric is essential for achieving the best results with heat pressing. Fabrics like cotton, polyester, and blends are ideal because they offer good fabric durability and excellent color retention. Cotton is popular for its natural feel and ability to hold vibrant colors, while polyester resists shrinking and maintains color brightness over time. Blended fabrics combine these benefits, providing durability and better heat transfer. Avoid fabrics that are too delicate or stretchy, as they may not withstand the heat or could distort during pressing. Natural fibers generally perform better, but always check the fabric’s heat tolerance beforehand. Selecting the right fabric guarantees your design lasts longer, stays vibrant, and stays intact through multiple washes. Incorporating smart kitchen tools into your workspace can help you better monitor and control the heat settings for different fabrics, ensuring optimal results. Additionally, understanding the properties of fabrics can help you choose materials that are more compatible with heat pressing, reducing the risk of damage. Being aware of fabric care instructions can also assist in maintaining your designs and extending their lifespan. Building awareness of the design thinking process can also aid in troubleshooting and refining your heat pressing techniques for better outcomes.
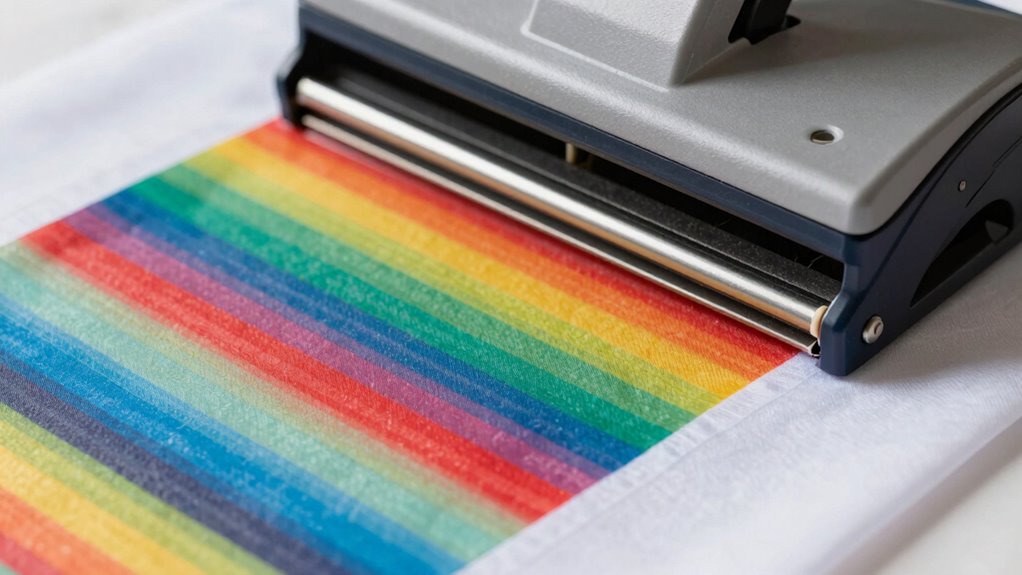
Suitable Transfer Materials
Have you ever wondered which transfer materials produce the best results with heat pressing? Transfer paper is a popular choice for printing designs onto fabrics, especially for detailed, colorful images. It’s easy to work with and works well on cotton, polyester, and blends. Heat transfer vinyl (HTV), on the other hand, is perfect for bold, simple designs and offers a durable, flexible finish. HTV is cut into shapes or letters and then applied with heat, making it ideal for apparel and accessories. Both transfer paper and heat transfer vinyl require proper application techniques for the best outcome. Choosing the right material depends on your project’s design, fabric type, and desired durability. Experimenting with these options helps you find what works best for your heat press creations. Additionally, understanding the appropriate heat and pressure settings can significantly impact the quality and longevity of your transferred designs. It’s also helpful to consider the color compatibility of your transfer materials to ensure vibrant and accurate results.

XEUZK Sublimation Shirts Tool Pink Kit With 8T Shirt rulers, 3Pack Teflon Sheet for Heat Press 12 x 16in, Heat Resistant Gloves & Silicone Bumps, 4Rolls Heat Resistant Tape& Tape Dispenser Sublimation
What You Get: Sublimation Shirts Tool Kits Pink With 8 T Shirt rulers Pink, 3Pack Teflon Sheet for…
As an affiliate, we earn on qualifying purchases.
As an affiliate, we earn on qualifying purchases.
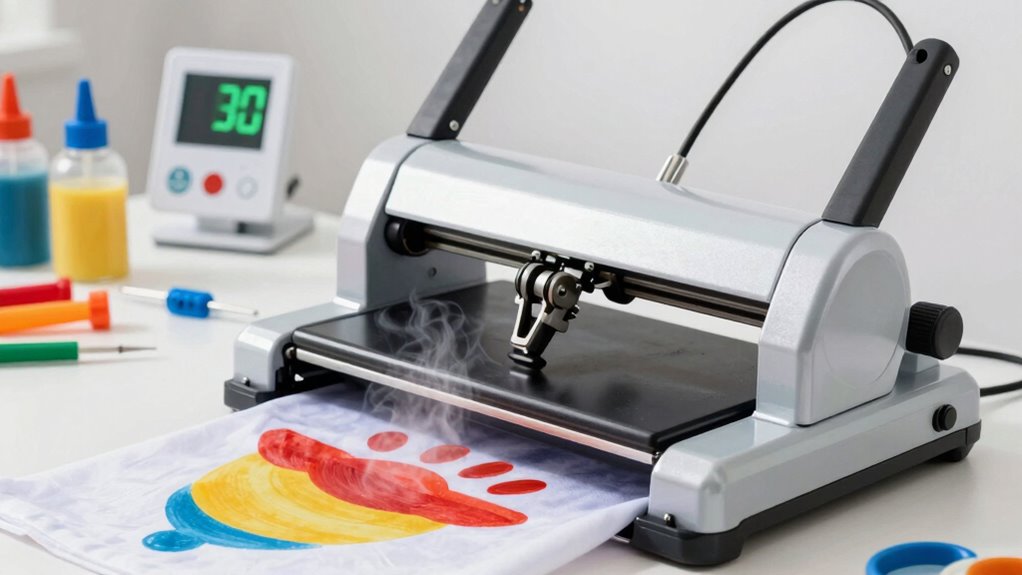
Understanding Heat Press Settings: Temperature, Pressure, and Time

To get the best results, you need to set the right temperature range for your material, typically between 350°F and 375°F for most fabrics. Applying the correct pressure guarantees the design bonds properly without damaging the material, so adjust your press accordingly. Timing is also vital; too short or too long can affect the quality, so follow the recommended duration for each project. Additionally, understanding heat press settings can help prevent common issues and ensure a professional finish. Properly managing cookie preferences can also enhance your experience by customizing your interaction with the device and preserving your settings. Being aware of warping issues and how to prevent them is also crucial for maintaining your gear’s longevity. Paying attention to material types and their specific heat transfer requirements can further improve your results and avoid mishaps. Recognizing the importance of proper heat transfer techniques can significantly impact the durability and appearance of your designs.
Optimal Temperature Ranges
Ever wonder what the ideal temperature range is for a heat press? It varies depending on the heat transfer type and fabric. Generally, the range is between 300°F and 380°F. For different color compatibility, maintaining the correct temperature guarantees vibrant results without scorching. Here are some guidelines:
- For vinyl transfers: 310°F–330°F, suitable for most fabrics.
- For sublimation: 380°F, ideal for polyester surfaces.
- For heat transfer paper: 350°F–370°F, depending on paper type.
- For glitter or specialty transfers: 320°F–340°F, avoiding damage to delicate designs.
Always check manufacturer instructions, as different transfers and fabrics require specific temperatures to achieve ideal results while preserving color integrity.
Applying Correct Pressure
Once you’ve set the right temperature for your transfer, applying the correct pressure guarantees the design adheres properly without damaging the material. Proper pressure calibration ensures that you’re applying enough force for a secure bond, but not so much that it causes material distortion. To achieve this, adjust your heat press to establish uniform contact across the entire design area, avoiding hotspots or uneven pressure points. Consistent pressure helps prevent incomplete transfers or ghosting effects. Test and fine-tune your pressure settings using scrap materials until you find the ideal balance. Remember, too much pressure can crush the material, while too little can lead to poor adhesion. Mastering pressure calibration is key to professional-looking results and long-lasting transfers.
Preparing Your Design and Material for Perfect Results

Before pressing, you need to guarantee your design and material are properly prepared to achieve the best results. Start by using design software to create or refine your design, ensuring clarity and proper resolution. Apply color theory principles to select colors that complement each other and stand out on your material. Check that your design fits the size and shape of your substrate for a seamless transfer. Use a heat-resistant cover sheet to protect your design during pressing. Additionally, pre-press your material briefly to remove moisture and wrinkles, ensuring a smooth surface. This preparation minimizes errors and guarantees vibrant, durable results. Properly preparing your design and material is essential for achieving professional-looking, long-lasting heat transfers. Familiarity with solar safety standards can also help you develop precision and control during your project.
Common Mistakes to Avoid When Heat Pressing
When you start heat pressing, mistakes can easily compromise your results if you’re not careful. One common error is neglecting heat press safety, which can lead to accidents or damage to your equipment. Always follow manufacturer instructions and keep your workspace clear. Another mistake is using unsuitable or eco-friendly materials improperly; some materials require specific temperature and pressure settings to avoid scorching or poor adhesion. Rushing the process can also cause uneven transfers or fading, so take your time to set the correct time, temperature, and pressure. Additionally, skipping test presses on scrap fabric might result in subpar results on your final project. Remember, paying attention to safety protocols and material specifications helps guarantee successful, professional-looking heat transfers every time.
Tips for Precise Placement and Alignment

Achieving perfect placement and alignment is essential for professional-looking heat transfers, and it starts with careful measurement. To guarantee placement precision, use rulers, grids, or positioning tools to mark exact spots on your substrate. Accurate alignment techniques help keep designs straight and centered, avoiding skewed results. Here are some tips:
Careful measurement and alignment ensure professional, precise heat transfer results every time.
- Use a ruler or tape measure to mark the center points of your item.
- Employ heat transfer tapes or masking tape to hold your design in place.
- Double-check measurements before pressing to prevent misalignment.
- Use registration marks or guides to align multiple layers or designs accurately.
Applying these tips guarantees your heat transfers are consistent, precise, and polished every time.
Maintaining Your Heat Press for Longevity
To keep your heat press running smoothly, you should regularly clean its surfaces and components to prevent buildup. Using the correct heat settings for each project guarantees your press stays in good condition and works efficiently. When not in use, store your heat press safely in a dry, protected area to prolong its lifespan.
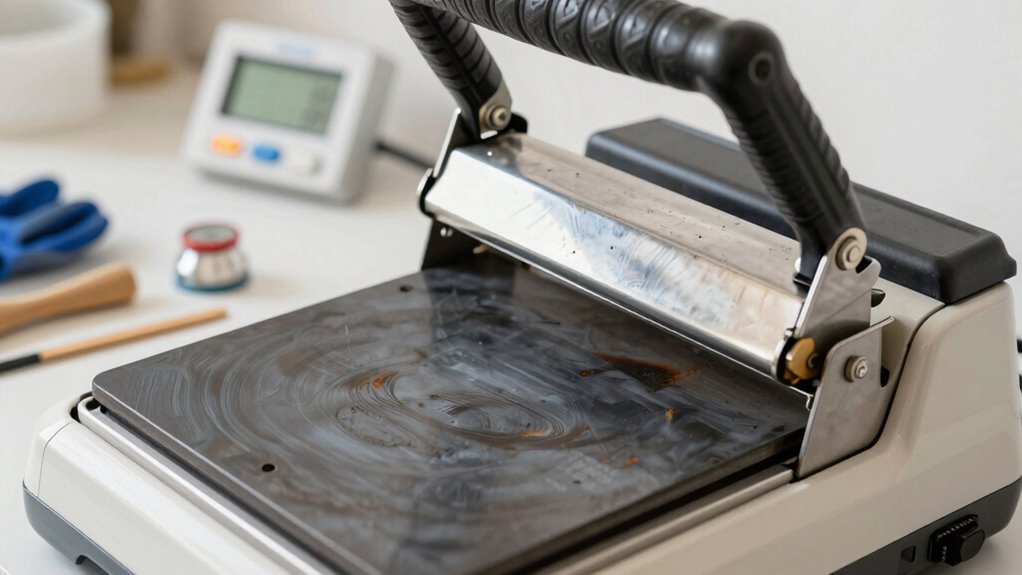
Regular Cleaning Practices
Are you regularly cleaning your heat press? Keeping up with cleaning schedules is key to ensuring its longevity. Proper maintenance prevents residue buildup and malfunctions. Use the right cleaning tools, like soft cloths and non-abrasive cleaners, to avoid damaging surfaces. Here are four essential practices:
- Wipe the platens after each use to remove leftover inks or adhesives.
- Use a damp cloth with mild soap or specialized cleaning solutions for stubborn residue.
- Clean the silicone pad and other removable parts regularly.
- Avoid harsh chemicals that could damage the heat press’s surfaces or internal components.
Following these simple steps helps maintain ideal performance and extends your heat press’s lifespan. Regular cleaning is a small effort that pays off with better results and fewer repairs.
Proper Heat Settings
Maintaining the correct heat settings is essential for preventing damage and guaranteeing your heat press lasts longer. Proper heat press safety means always following the manufacturer’s recommended temperature and time settings for different materials. This prevents overheating, which can warp or damage your equipment. When working with eco-friendly materials, be extra cautious, as they often require lower temperatures to preserve their integrity. Regularly check your heat press’s temperature accuracy with a reliable thermometer to avoid guesswork. Consistent, correct heat settings also help produce high-quality, durable transfers. By adhering to these guidelines, you extend your heat press’s lifespan and assure safe operation, making your projects more successful and eco-friendly in the long run.
Safe Storage Techniques
Proper storage is vital for preserving your heat press’s performance and extending its lifespan. Good storage safety prevents damage and guarantees your equipment stays in top shape. To achieve this, follow these tips:
- Keep your heat press in a cool, dry place away from moisture and direct sunlight.
- Cover it with a protective cover or cloth to prevent dust buildup.
- Disconnect and unplug the machine when not in use to avoid accidental injuries.
- Practice equipment organization by designating a specific spot for your heat press, making sure it’s stable and secure.
Troubleshooting Sticky, Faded, or Uneven Designs
When your heat press results in sticky, faded, or uneven designs, it’s often a sign that something isn’t quite right with the process. Many heat transfer myths can lead you astray, like believing higher temperatures always produce better results. To troubleshoot, check your heat press accessories, ensuring your heat platen is clean and functioning correctly. Faded designs might mean the temperature was too low or the transfer time was insufficient, while uneven results could be due to uneven pressure or inconsistent heat distribution. Always verify your settings against the transfer instructions and avoid rushing through the process. Properly maintaining your equipment and understanding how heat transfer works will help you achieve consistent, professional-looking results every time.
Next Steps: Improving Skills and Creating Advanced Projects
Once you’ve mastered troubleshooting basic heat transfer issues, the next step is sharpening your skills and exploring more advanced projects. To do this effectively, prioritize heat press safety by always following manufacturer instructions and wearing protective gear. Experiment with eco-friendly materials like organic fabrics and biodegradable transfers to create sustainable products. To improve, consider these steps:
- Practice multi-layer designs to add complexity.
- Experiment with different heat press settings for varied materials.
- Incorporate custom artwork using advanced techniques like foil or glitter transfers.
- Attend workshops or watch tutorials to learn new methods and safety tips.
Frequently Asked Questions
Can I Use a Household Iron Instead of a Heat Press?
Yes, you can use a household iron instead of a heat press, but keep in mind, an iron isn’t designed for the same consistent pressure and temperature control as a DIY heat press. Iron vs. press, a heat press provides even heat and pressure for better results, especially on larger projects. While an iron works in a pinch, investing in a heat press guarantees more professional, durable transfers.
How Do I Remove Excess Heat Transfer Vinyl Easily?
To remove excess heat transfer vinyl easily, let the vinyl cool slightly after pressing. Gently peel away the excess vinyl, but if you notice vinyl peeling or lifting, it might be due to incorrect temperature adjustment. Make sure your heat press or iron is set to the right temperature for your vinyl type. Taking your time and allowing the vinyl to cool helps prevent tearing and makes the removal process smoother.
Is It Safe to Leave a Heat Press Unattended?
A stitch in time saves nine, so it’s best not to leave your heat press unattended. For heat press safety, never leave it running without supervision, as it can cause damage or fire hazards. Unattended operation is risky because the machine’s heat and pressure pose safety concerns. Always turn off and unplug your heat press when not in use, ensuring safety and peace of mind during your projects.
What’s the Best Way to Clean a Heat Press?
To clean your heat press effectively, use gentle cleaning techniques like wiping the surface with a soft cloth and mild detergent after each use. Make sure you unplug and let it cool before cleaning. For surface preparation, remove any leftover adhesive or debris with a non-abrasive pad. Regular cleaning prevents residue buildup, maintains even heat distribution, and prolongs your heat press’s lifespan, making your projects look professional every time.
Can I Heat Press on Irregular or Curved Surfaces?
Yes, you can heat press on irregular or curved surfaces, but it takes finesse. Think of your heat press as a gentle sculptor, working with surface flexibility to mold your design perfectly. Use curved surface techniques like adjusting pressure and employing a Teflon sheet to protect the design. With patience and the right approach, you’ll achieve seamless results on even the most challenging shapes, turning your project into a masterpiece.
Conclusion
Think of your heat press as a key to releasing creativity, each press opening new doors of possibility. With patience and practice, you’ll master the craft, turning simple designs into lasting impressions. Remember, every mistake is a stepping stone—a spark that ignites your passion. Embrace the journey, and soon, your creations will tell stories as vivid and enduring as a well-pressed design, symbolizing your growth and dedication in every flawless project.