
Embroidery machines can seem intimidating at first, but once you understand their basic parts like needles, hoops, and control panels, it becomes much easier. Learning simple setup steps, such as threading correctly and selecting basic stitches, boosts your confidence quickly. Regular maintenance keeps your machine running smoothly. As you practice with small projects, you’ll gain skills and feel more comfortable. Keep exploring, and soon you’ll see how approachable embroidery can truly be.
Key Takeaways
- Understanding the main parts and functions makes embroidery machines less complex and more approachable.
- Learning basic setup and threading techniques helps prevent common issues and builds confidence.
- Practicing simple stitches and small projects simplifies the learning curve.
- Familiarity with machine features and maintenance ensures smooth operation and reduces intimidation.
- Accessing tutorials and community support makes mastering embroidery basics easier and less overwhelming.

Sewing Machine Needles, 50 PCS Universal Sewing Machine Needle, Compatible with Singer, Brother, Janome, Varmax, Sizes HAX1 65/9, 75/11, 90/14, 100/16, 110/18 (50 PCS)
PREMIUM QUALITY MATERIAL: Made of top quality high-strength steel, sharp smooth, sturdy and durable, not easy to bend,…
As an affiliate, we earn on qualifying purchases.
As an affiliate, we earn on qualifying purchases.
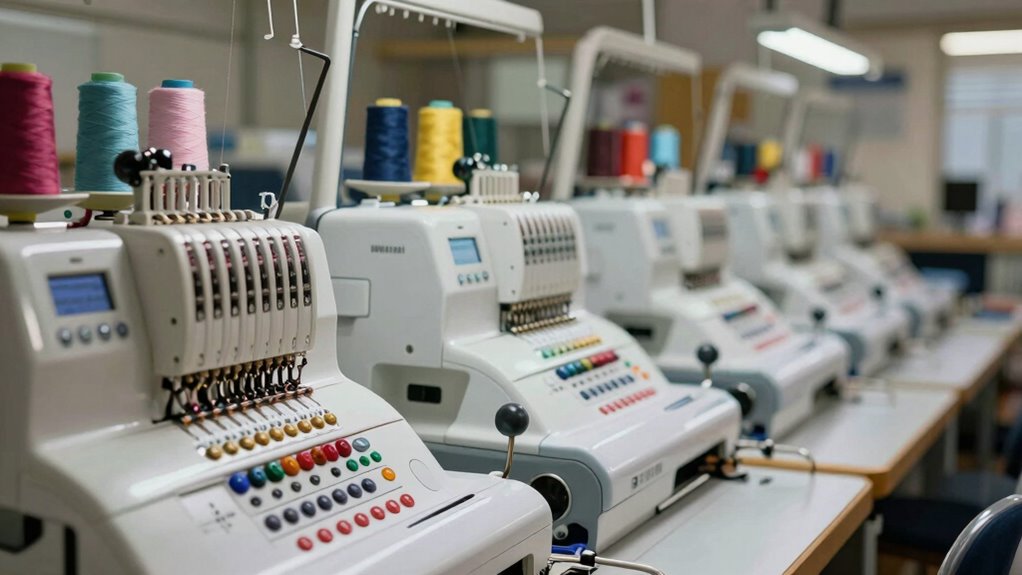
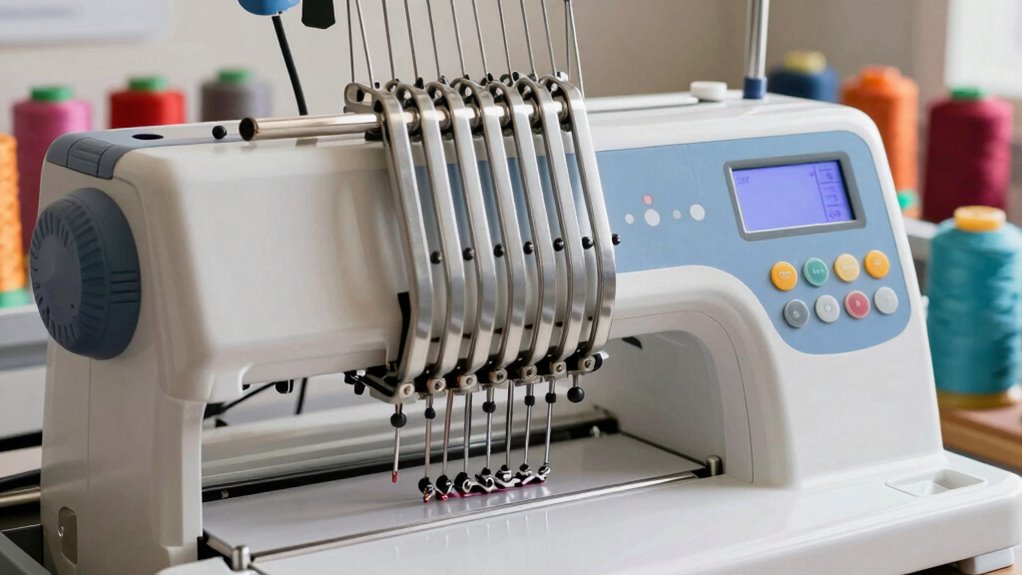
Learn the Key Parts of Your Embroidery Machine

Understanding the key parts of your embroidery machine is essential for operating it effectively. Familiarize yourself with essential embroidery machine accessories like needles, bobbins, and thread guides, which ensure smooth stitching. The embroidery hoop is a crucial component, and knowing about different embroidery hoop sizes helps you select the right one for your project. The hoop holds your fabric taut, providing stability for precise embroidery. You’ll also want to understand the machine’s arm, needle plate, and control panel, which allow you to adjust settings and monitor progress. Knowing how these parts work together makes your embroidery smoother and more enjoyable. Additionally, gear maintenance plays a vital role in ensuring your machine operates efficiently and lasts longer. Regularly cleaning and lubricating your machine helps prevent issues caused by dust and debris, which is especially important for machine longevity. To keep your embroidery machine functioning at its best, understanding the mechanical components can help you identify and resolve potential problems early. Developing a basic knowledge of machine mechanics can also improve your troubleshooting skills and reduce downtime. By mastering these key parts, you’ll be better equipped to troubleshoot issues and get professional-looking results every time.

6 Pcs Embroidery Hoop 6 Size, Round Plastic Cross Stitch Hoop with 16 Needles (3.6In to 10.7 in), Small Embroidery Hoop, Cross Stitch Hoops and Frames, Suitable for Embroidery, Craft Sewing
Multiple sizes: our embroidery hoop, each set has 6 different sizes of embroidery hoops and a bag of…
As an affiliate, we earn on qualifying purchases.
As an affiliate, we earn on qualifying purchases.
Choose the Right Embroidery Machine for Beginners
When choosing an embroidery machine, consider your skill level to find one that’s easy to operate. Look for features and functions that match what you want to create, without overwhelming you. Also, set a budget to make sure you pick a machine that offers the best value within your price range. Exploring digital content concepts can help you understand the different types of embroidery machines available. Understanding personal finance planning can also assist you in making a well-informed purchase decision. Being aware of accessory advice can ensure you select a machine that complements your overall crafting needs. Additionally, considering backyard transformation essentials can inspire you to set up a comfortable space for your embroidery projects. Incorporating all-terrain strollers for active parents ideas can motivate you to create a dedicated and versatile workspace that fits your dynamic lifestyle.
Skill Level Compatibility
Choosing the right embroidery machine for beginners means considering your skill level and how much guidance you’ll need. Many people fall for embroidery machine myths that make the process seem more complicated than it is, fueling beginner embroidery misconceptions. If you’re just starting out, look for a machine designed with simplicity in mind—features like automatic needle threading or built-in tutorials can boost your confidence. Avoid machines that are overly advanced or packed with features you won’t use right away, as they can be overwhelming. Instead, pick one that matches your comfort level and allows room to grow. Remember, a machine that’s too complicated might discourage you early on, so choose one that fits your current skills and helps you build confidence. Additionally, understanding color accuracy and how it affects your designs can help you select a machine that produces vibrant, true-to-life embroidery results. Being aware of cloud services and their potential vulnerabilities can also guide you in choosing reliable equipment and software options.
Machine Features and Functions
Selecting the right features on an embroidery machine can make a significant difference in your beginner experience. Modern machines vary in functions, so understanding key features helps you choose wisely. For example, some machines offer automatic needle threading, built-in designs, and adjustable speed, enhancing ease of use. Knowing the embroidery machine history reveals how features have evolved, making it easier to select one suited for textile fiber types like cotton, silk, or polyester. These differences influence stitch quality and durability. Consider features such as embroidery area size, screen navigation, and thread tension control. Here’s a quick overview:
| Feature | Benefit | Ideal for |
|---|---|---|
| Automatic Threading | Saves time | Beginners |
| LCD Touch Screen | Easy design selection | Versatile projects |
| Adjustable Speed | Precision in stitching | Complex or detailed work |
| Embroidery Area Size | Larger designs | Creative projects |
Budget and Price Range
Budget plays a crucial role in determining which embroidery machine is right for beginners. Your price range influences the embroidery machine brands you consider and helps narrow down options. When doing a pricing comparison, you’ll notice that entry-level models typically cost between $200 and $500, offering basic features suitable for newcomers. Mid-range machines, around $500 to $1,000, often include more stitches and larger hoops. Higher-end models, over $1,000, provide advanced functions and greater durability. Keep in mind that investing in a reputable brand can guarantee better support and quality. To find the best fit, compare features, warranty, and customer reviews within your budget. Remember, selecting a machine within your price range ensures a smoother learning experience without overspending.
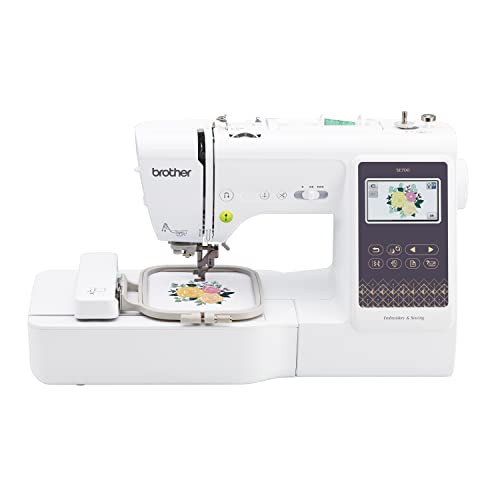
Brother SE700 Sewing and Embroidery Machine, Wireless LAN Connected, 135 Built-in Designs, 103 Built-in Stitches, Computerized, 4" x 4" Hoop Area, 3.7" Touchscreen Display, 8 Included Feet, White
SEWING and EMBROIDERY IN ONE: The SE700 is the ideal machine to start your sewing and embroidery journey…
As an affiliate, we earn on qualifying purchases.
As an affiliate, we earn on qualifying purchases.
Set Up Your Embroidery Machine and Get Ready to Stitch
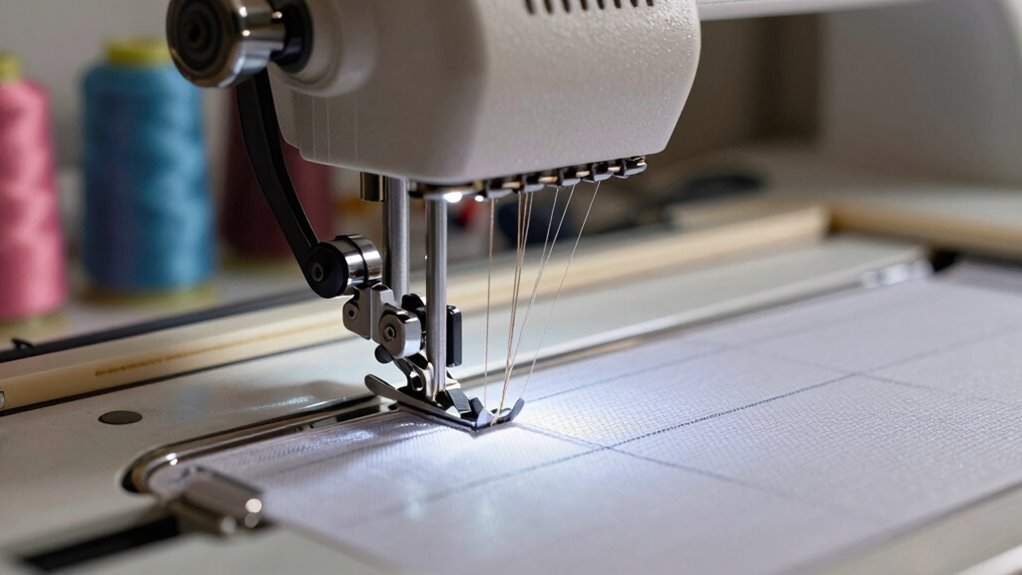
Getting your embroidery machine ready to stitch is the first step toward successful projects. Begin by selecting your embroidery design, ensuring it fits your fabric and project goals. Next, choose your thread color, considering how it complements your design and fabric. Install the appropriate embroidery hoop securely, making sure the fabric is taut. Turn on your machine and set it to embroidery mode. Check that the needle is properly threaded and that the bobbin has enough thread. Adjust the tension if needed for smooth stitching. Double-check your design placement on the fabric, and run a quick test stitch if possible. Once everything looks good, you’re ready to start stitching confidently, knowing your machine is properly set up for precise and beautiful embroidery.

21 Pieces Sewing Machine Cleaning Kit,Sewing Machine Repair Tools Include Tweezers Double Headed Brush Screwdriver Seam Rippers Silicone Brush for Repair and Cleaning Machine Sewing with Storage Box
Packing list: The sewing machine tool kit includes 1 curved nose tweezers, 1 double headed lint brush, 1…
As an affiliate, we earn on qualifying purchases.
As an affiliate, we earn on qualifying purchases.
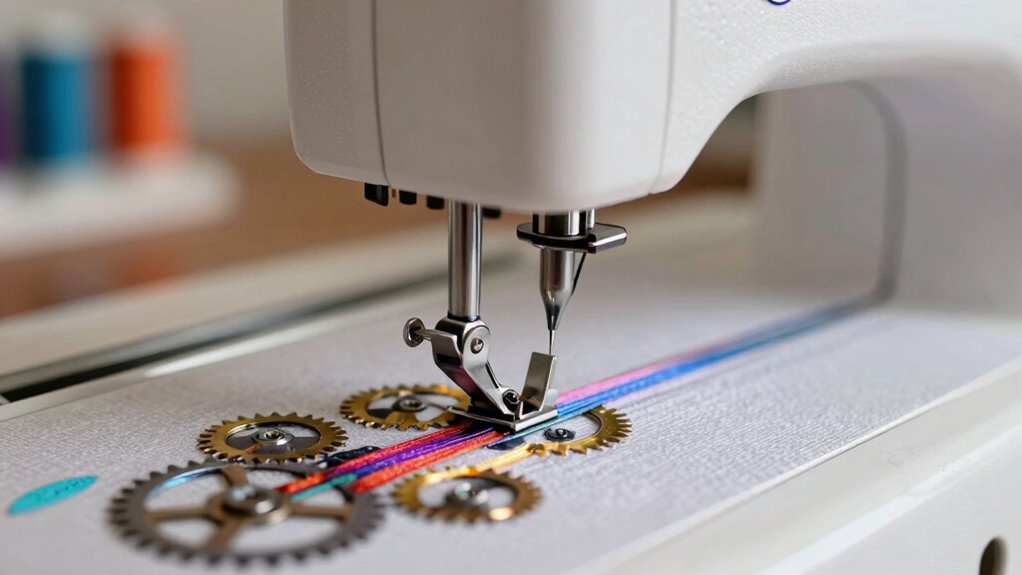
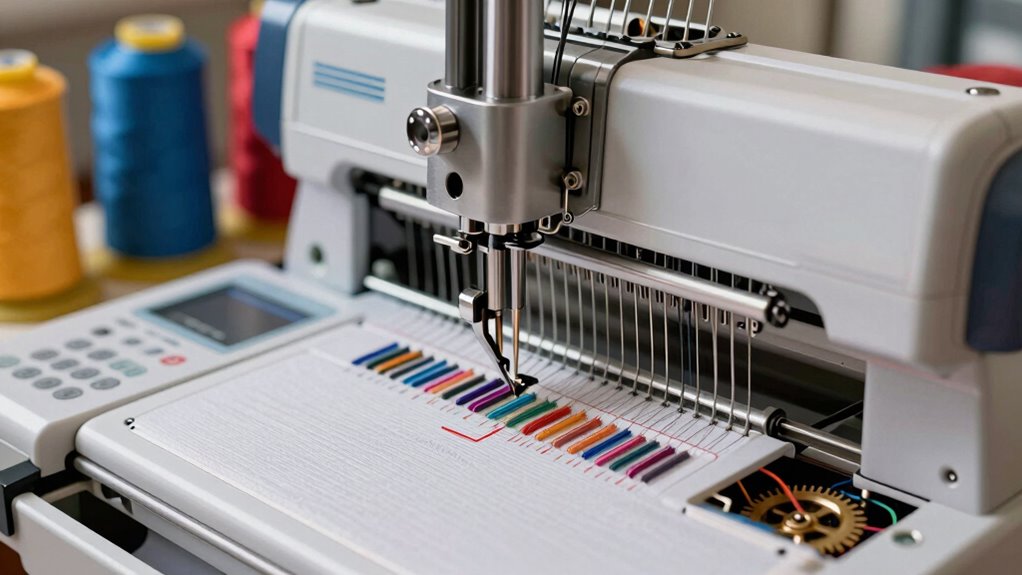
Load and Thread Your Machine Like a Pro
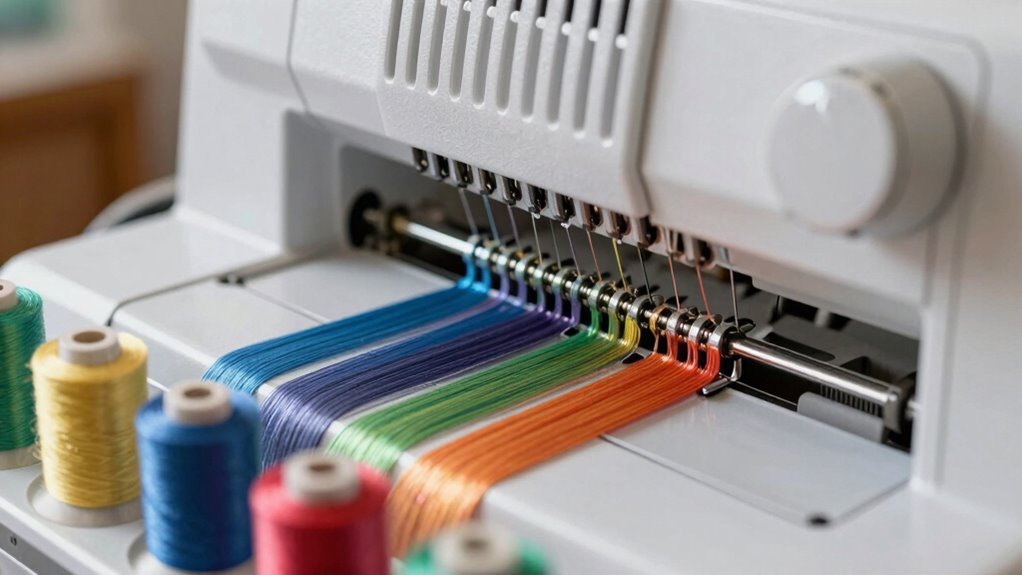
Once your machine is set up and ready to go, the next step is to load your embroidery design and thread the machine properly. To do this, select the correct thread types—cotton, polyester, or specialty threads—based on your project. Pay attention to fabric textures, as they influence tension and stitch quality. When loading thread, guarantee it feeds smoothly without tangles, and match thread colors to your design for a polished look. For the best results, familiarize yourself with thread types and their uses to choose the right options for your project. Here are some tips to help you thread like a pro:
- Use high-quality thread for consistent stitches
- Follow the thread path guides carefully
- Keep fabric taut but not stretched
- Test on scrap fabric first
- Adjust tension for different fabric textures
- Incorporate proper thread handling techniques to avoid common threading issues, especially when working with thread tension adjustments to maintain stitch consistency. Additionally, understanding basic machine maintenance can prevent many threading problems and ensure your machine operates smoothly. Knowing the history of pinball machines can also inspire your approach to craftsmanship and precision, ensuring your embroidery work is just as captivating. This approach ensures your embroidery looks neat and professional.
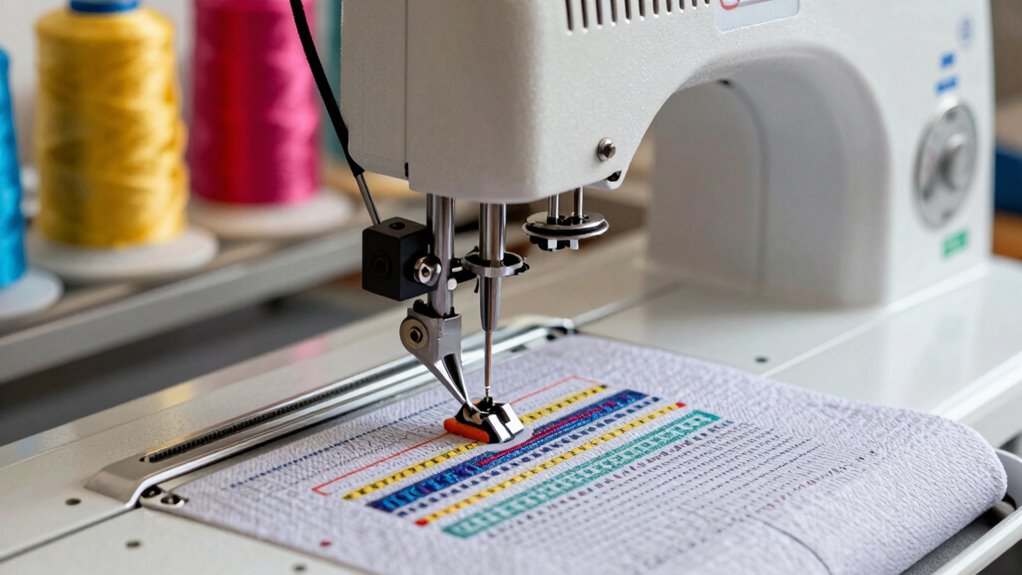
Try Out Popular Embroidery Stitches and Patterns
Now it’s time to test out common embroidery stitches and explore different pattern styles. Trying a variety of stitches helps you understand their unique textures and effects, while patterns add creative flair to your projects. Remember to practice regularly and follow some handy tips to improve your skills faster. Incorporating connected tools and apps can also enhance your learning process by providing guidance and tracking your progress. Using embroidery machine settings effectively can make a significant difference in achieving professional-looking results. Keeping a mindset of patience and curiosity can help you stay motivated as you experiment with new stitches and patterns.
Common Embroidery Stitches
Have you ever wondered which embroidery stitches are most popular for creating beautiful, eye-catching designs? Knowing common stitches helps you build confidence and explore your creativity. Some of the essential stitches include the satin stitch, backstitch, running stitch, fill stitch, and French knot. Each stitch offers a different texture and effect, making it easy to add dimension and detail. When choosing stitches, consider color theory to select thread colors that complement your fabric. Fabric selection also impacts stitch appearance, so pick materials that hold stitches well and showcase your work. Practice different stitches on scrap fabric to understand their behavior. Mastering these basics will make your embroidery projects more polished and enjoyable, transforming intimidating machines into powerful tools for your creativity.
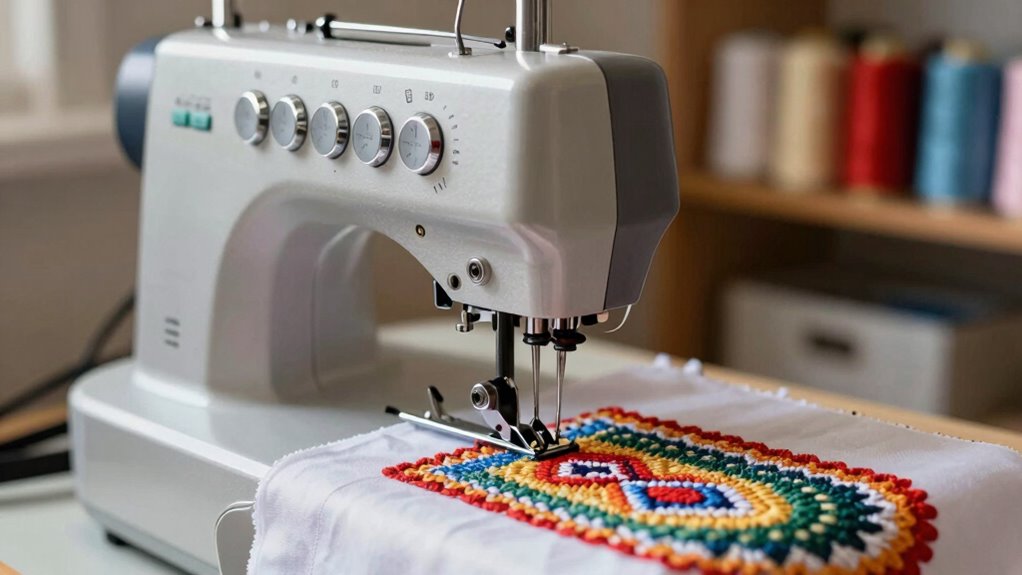
Popular Pattern Styles
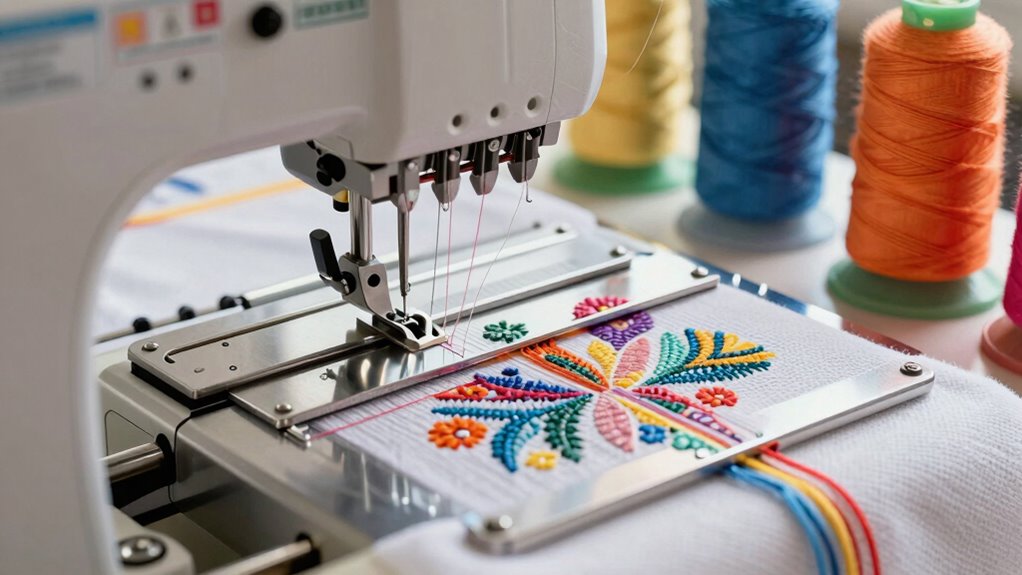
Exploring popular embroidery pattern styles can inspire your creativity and help you achieve professional-looking results. Start by experimenting with different pattern types like floral designs, geometric shapes, or whimsical motifs. Your chosen color palette plays a big role in setting the mood—bright colors create energy, while softer shades evoke elegance. Consider your fabric choice, as it influences how well patterns will translate; sturdy fabrics like denim or canvas support bold stitches, while delicate materials like silk or linen suit intricate designs. Trying out various stitches, such as satin stitch or fill stitch, within these patterns can add texture and dimension. Incorporating different embroidery stitches can further enhance the visual interest and complexity of your projects. Additionally, understanding the types of fabric best suited for embroidery can help ensure your designs turn out beautifully. By selecting the right combination of pattern styles, color palette, and fabric choice, you’ll develop a signature look that reflects your personal style and skill.
Tips for Practice
Wondering how to get comfortable with embroidery stitches and patterns? The key is practice. Start by trying out popular stitches like satin, backstitch, and French knots on scrap fabric. Focus on understanding color theory to create vibrant, coordinated designs. Choose fabric with a smooth surface, like cotton or linen, to make stitching easier. Don’t hesitate to experiment with different patterns—this builds confidence and skill. Keep these tips in mind:
- Use contrasting thread colors to see stitches clearly
- Select fabric that matches your project’s purpose
- Practice stitches in small sections before tackling large designs
- Observe how color combinations affect the overall look
- Repeat patterns to improve consistency and control
With consistent practice, embroidery becomes more intuitive and enjoyable.
Tips for Perfect Embroidery Results Every Time
Achieving perfect embroidery results consistently comes down to paying attention to a few key details. Start with color theory—choose contrasting or harmonious colors to make your design pop. Proper fabric selection is essential; stiff fabrics may cause puckering, while soft fabrics can stretch or distort. Always test on scrap fabric first. Keep your hoop tight and aligned to prevent shifting. Use stabilizers tailored to your fabric type for stability. Regularly clean your machine to avoid thread jams and uneven stitching. Additionally, understanding the importance of battery capacity can help ensure your equipment remains powered during long embroidery sessions. Considering the sustainability of your materials can also contribute to environmentally friendly practices. Being aware of machine maintenance routines can extend the lifespan of your embroidery machine, ensuring consistent results over time. Proper charger settings and low-voltage cutoff are also crucial for maintaining your equipment’s health and performance.
Fix Common Embroidery Machine Problems
When your embroidery machine isn’t working smoothly, it’s likely due to issues like thread tension, needle breakage, or it simply not sewing properly. You can often fix these problems by adjusting the tension, replacing or checking the needle, or cleaning the machine. Addressing these common issues promptly keeps your embroidery projects on track.
Thread Tension Troubles
Thread tension is a common culprit behind many embroidery machine issues, and fixing it can considerably improve your results. When troubleshooting, uneven stitches, thread breakage, or puckering often point to tension problems. To get it right, check both the upper and bobbin thread tensions, making sure they’re balanced. Adjust the tension dial gradually and test on scrap fabric before resuming your project. Here are key tips for troubleshooting:
- Start with a clean machine to prevent tension inconsistencies
- Re-thread the machine, making sure the thread seats properly
- Use the recommended thread type and weight
- Check for tangled or damaged threads
- Test tension on sample fabric before continuing
Proper tension ensures smooth stitches and professional results.
Needle Breakage Solutions
Needle breakage is a common problem that can disrupt your embroidery projects and lead to frustration. To prevent this, focus on proper threading techniques. Make certain the thread passes smoothly through the needle’s eye without any twists or tangles, as improper threading can cause stress on the needle. Also, pay attention to fabric selection; using the right fabric for your project reduces resistance and strain on the needle. Thin or stretchy fabrics may require a finer needle, while thicker materials need a sturdier one. Regularly check your needle for signs of wear or damage, replacing it promptly. By combining correct threading techniques with suitable fabric choices, you minimize the risk of needle breakage, keeping your embroidery process smooth and enjoyable.
Machine Not Sewing Properly
If your embroidery machine isn’t sewing properly, it’s often due to simple issues that can be quickly addressed. First, check the thread color; using the wrong thread can cause uneven stitches. Make sure you’ve selected the right fabric type, as some fabrics need specific tension settings. Here are other common fixes:
- Ensure the thread is properly threaded through all guides and tension discs
- Adjust tension settings based on fabric type
- Clean bobbin case and check for lint or debris
- Use compatible embroidery needle size for your fabric
- Verify the embroidery hoop is tight and correctly positioned
Addressing these areas usually solves most sewing issues, keeping your project on track and looking professional.
Maintain Your Machine to Keep It Running Smoothly
Regular maintenance is essential to keep your embroidery machine running smoothly and producing high-quality stitches. Consistently perform machine maintenance by cleaning lint and dust from the bobbin area, tension discs, and needle plate. Lubricate moving parts as recommended in your user manual to prevent wear and tear. Keep your machine’s thread troubleshooting in mind—check for tangled or frayed threads that could cause jams or uneven stitching. Always use quality threads suited for your machine, and replace needles regularly to avoid skipped stitches. If you notice any irregularities, address them promptly. Regular upkeep not only improves stitch quality but also extends your machine’s lifespan. Staying proactive with maintenance makes embroidery more enjoyable and less frustrating.
Start Simple Projects to Boost Your Embroidery Skills
Getting started with simple embroidery projects is a great way to build your confidence and develop your skills. Focus on small projects like initials, patches, or fabric accents. These tasks help you practice essential techniques, including color blending and thread selection. To make your projects stand out, experiment with combining different thread shades for smooth color gradations. Choosing the right thread ensures your designs are vibrant and durable. Keep these tips in mind:
- Use basic stitches to keep projects manageable
- Practice color blending for seamless transitions
- Select threads that match your fabric and design
- Start with fewer colors to avoid confusion
- Keep your workspace organized for efficiency
Starting simple allows you to learn at your own pace while creating satisfying results. Enjoy the process and watch your skills grow!
Find Resources and Tutorials to Continue Improving

To keep improving your embroidery skills, exploring a variety of resources and tutorials is essential. Look for online videos, blogs, and forums that focus on creative design ideas and techniques. These resources can teach you how to select the right thread color to enhance your projects and make your designs pop. Many tutorials also offer tips on troubleshooting common issues and mastering machine functions. Joining embroidery communities or social media groups gives you access to diverse ideas and feedback. Practice different stitches and experiment with creative design concepts to boost your confidence. Continuously learning from expert tutorials and resources helps you refine your skills, making embroidery more enjoyable and less intimidating over time.
Frequently Asked Questions
How Do I Choose the Best Embroidery Designs for My Projects?
To choose the best embroidery designs, focus on your project’s purpose and style. Start with design selection that matches your skill level and theme. Consider color coordination—pick colors that complement each other and suit your fabric. Browse design libraries or customize your own. Make certain the design fits your embroidery machine’s hoop size. By balancing design complexity with your experience, you’ll create beautiful, personalized projects that stand out.
What Safety Precautions Should I Follow When Using an Embroidery Machine?
You should always wear safety gear like eye protection and keep your fingers clear of moving parts to avoid injuries. Regular machine maintenance, such as cleaning and checking for loose screws, keeps everything running smoothly. Never rush through your projects—pause if you notice something unusual. These small precautions, like wearing safety gear and maintaining your embroidery machine, make a big difference in keeping your workspace safe and your projects flawless.
Can I Embroider on Different Types of Fabric With One Machine?
Yes, you can embroider on different fabric types with one machine. You just need to adjust the machine settings for each fabric, such as tension, stitch density, and speed. Different fabric types like cotton, silk, or denim require specific settings to achieve the best results. Always test on a scrap piece first to make sure your machine is properly configured for the fabric you’re working with.
How Long Does It Typically Take to Complete an Embroidery Project?
It usually takes a few hours to complete an embroidery project, depending on its size and complexity. You should factor in time for machine maintenance, like cleaning and oiling, to keep it running smoothly. Thread selection also matters, as choosing the right threads can speed up your work and improve quality. Plan ahead, stay patient, and you’ll finish your project efficiently while ensuring your machine stays in good shape.
Are There Specific Tools or Accessories That Improve Embroidery Accuracy?
Think of embroidery like painting with precision; specific tools matter. Using the right needle types and adjusting thread tension carefully can make a huge difference. For example, a sharp needle guarantees cleaner stitches, while proper thread tension prevents puckering. These accessories help improve accuracy and quality. Investing in quality tools and familiarizing yourself with their functions turns a challenging machine into a reliable partner, elevating your embroidery craft effortlessly.
Conclusion
Embroidery might seem intimidating at first, but think of it like learning to ride a bike—once you get the basics, it becomes second nature. I remember my first project; it was shaky, but each stitch built my confidence. With patience and practice, you’ll see your skills blossom just like a garden blooming in spring. Keep exploring, and soon, your embroidery machine will feel like an extension of your creativity—ready to bring your ideas to life.